Looking to purchase the software? For Photo Booth Upload Software - Click Here
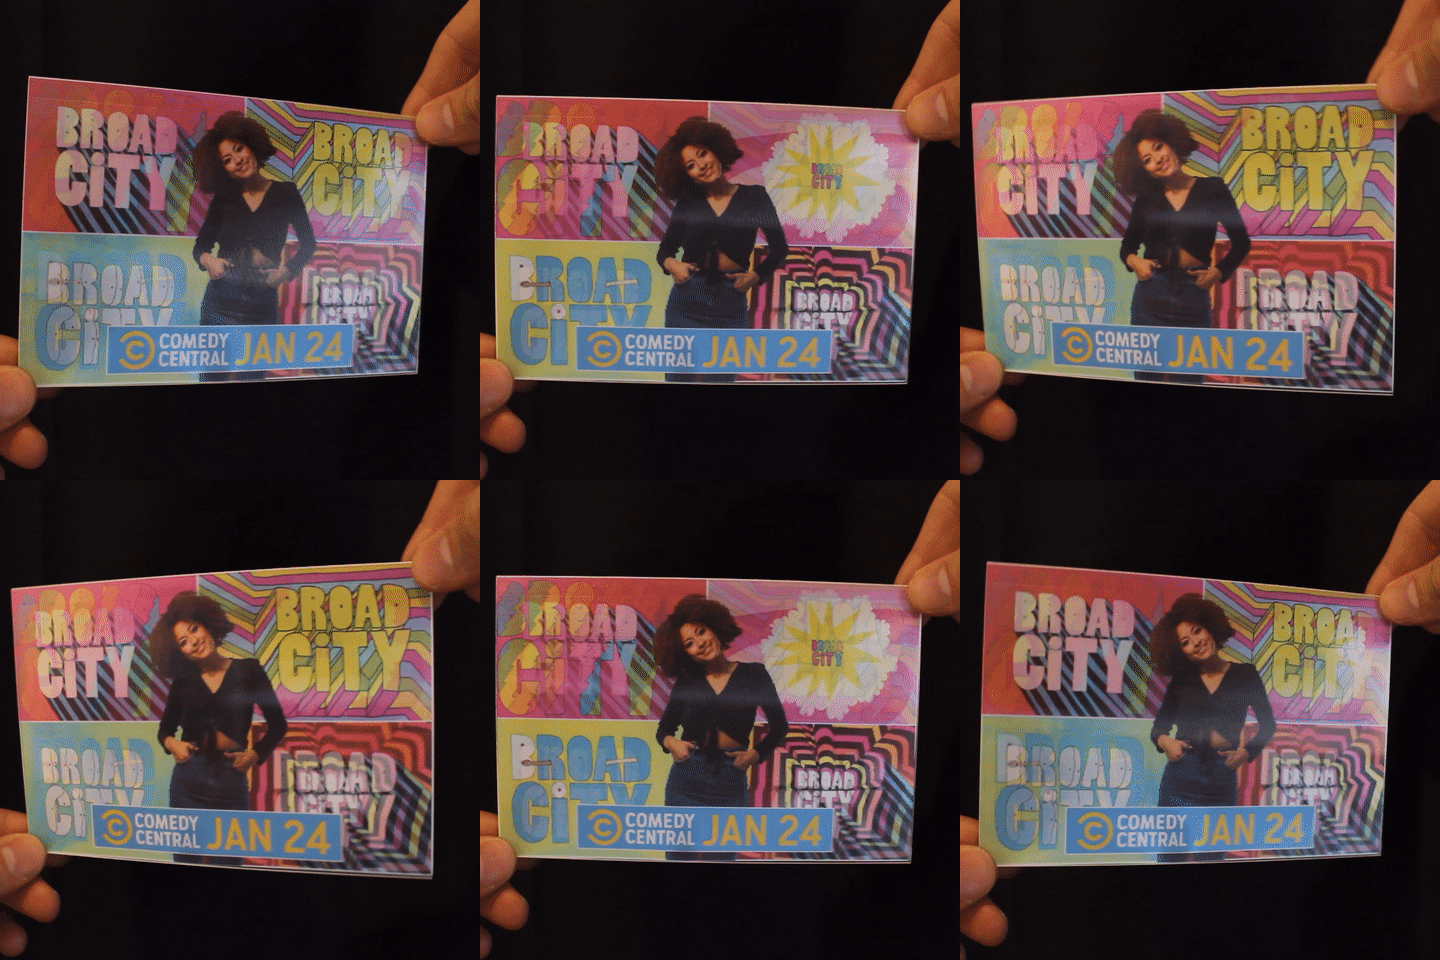
A lenticular image allows multiple images to be combined into one print by interlacing thin strips of each image. A lenticular lens is then laid over the print, so that each image is seen individually as the lens and print are moved together.
Here are some examples:
Two Frame Lenticular:

You can buy the physical lenses here:
60 LPI
https://store.vuethru.com/gif-flip-morph-or-3d-photo-booth-lenticular--60lpi-c182.aspx
40 LPI
https://store.vuethru.com/gif-or-flip-photo-booth-lenticulars---40-lpi-c183.aspx
Three Frame Lenticular:

Multi Frame Lenticular with Green Screen and single photo capture:

With Photo Booth Upload you can make lenticular prints from a GIF or Morph activation. This tutorial will cover how Lenticular Prints work, and what hardware (lenses and printers) you'll need.
Lenticular basics
Two essential pieces of a lenticular print are the printer you're going to use and the lenticular lens. Generally, the higher resolution your printer, the better your lenticular quality. A printer capable of 300 DPI is sufficient for lenticular prints, but higher resolutions can offer more flexibility with number of images and sharper transitions between images.
Lenticular lenses come in many different resolutions At LA Photo Party, we generally use lens frames from VueThru.com, which come in 60 LPI and 40 LPI (to get the 40 LPI frames, your order must call and place your order directly).
60 LPI lenses will appear higher resolution, but you will get more bleed between images compared with 40 LPI lenses. You may need to experiment to know which lens type you prefer.
You can purchase Lenticular lenses with the frames from VueThru here: https://store.vuethru.com/4x6-10x15-cm-3d-photo-souvenir-frames-c62.aspx
The orientation of the lens (horizontal or vertical) will depend on the type of lenticular animation or graphics you want to use. The two basic types are Flip (horizontal) and 3D (vertical).
Here's a great tip from VueThru on how to align your prints into the lenticular frames:
Flip lenticulars (horizontal) are best when you want to change from one image to another, where only one image is seen at a time.
3D lenticulars (vertical) are used when viewing multiple images of a slightly different perspective. In a 3D lenticular (where the lines are oriented vertically) each eye will see a different image, so these should only be used when the interlaced images are shifted perspectives of the same thing (like what you see with stereo glasses at a movie theater). One way this can be achieved is by taking multiple photos using a slider track with a still subject. Another is by using a green screen with a 2D guest photo and a 3D interlaced background and overlay.
You will be able to do both Flip and 3D lenticulars with PBU, but 3D lenticulars will likely be accomplished with pre-loaded 3D graphical elements as opposed to capturing a 3D photo.
Glue on lenses vs. folded lens frames. At an event, using glue on lens frames can be very time consuming and requires a lot of practice and skill. You only get one chance to get it right, and if you mess up, the lens must be thrown away and you have to print a new one and try again. For this reason we always recommend using lens frames. They are generally much easier to align (simply push the printed photo up against the folded crease and close the frame) and if you mess up, simply open the frame and adjust. Then secure the frame with the included clear band and hand to the guest!
The trade off is that the glue on lenses can look a little higher quality when done PERFECTLY, but it is very difficult to achieve that perfection, especially at high volume events when the pressure is on to do as many lenses as quickly as possible. As always, the decision is yours. But no matter what configuration you want to go with, one thing remains essential:
ALWAYS TEST!!! Every printer is different. Some will work better with one orientation of interlaced lines, but not very well with others(eg. interlaced lines that print parallel to the direction of the print head vs perpendicular to the print head). Occasionally you may need to adjust the LPI slightly (eg. from 60 to 60.04 or 59.98) if the images fade into each other partway down the lens. Occasionally, if your printer allows it, changing the DPI may lead to better lenticular quality. There are so many possible options, and the only way to know what works best for you is to experiment. See if your lens provider can send you a sample pack of different types of lenses. Try using different orientations and (if you have them) different printers.
LENTICULARS TAKE PATIENCE AND PRACTICE! Do not do this for the first time at an event and expect it to go well. Remember, even though this is an advanced feature that can take a while to get just right, the results can be ASTONISHING, and offering this to your clients can really set you apart from the competition!
That's it for the intro to Lenticular prints in PBU. Now review the Lenticular tutorials for GIF and Morph to learn how to set one up in PBU.
